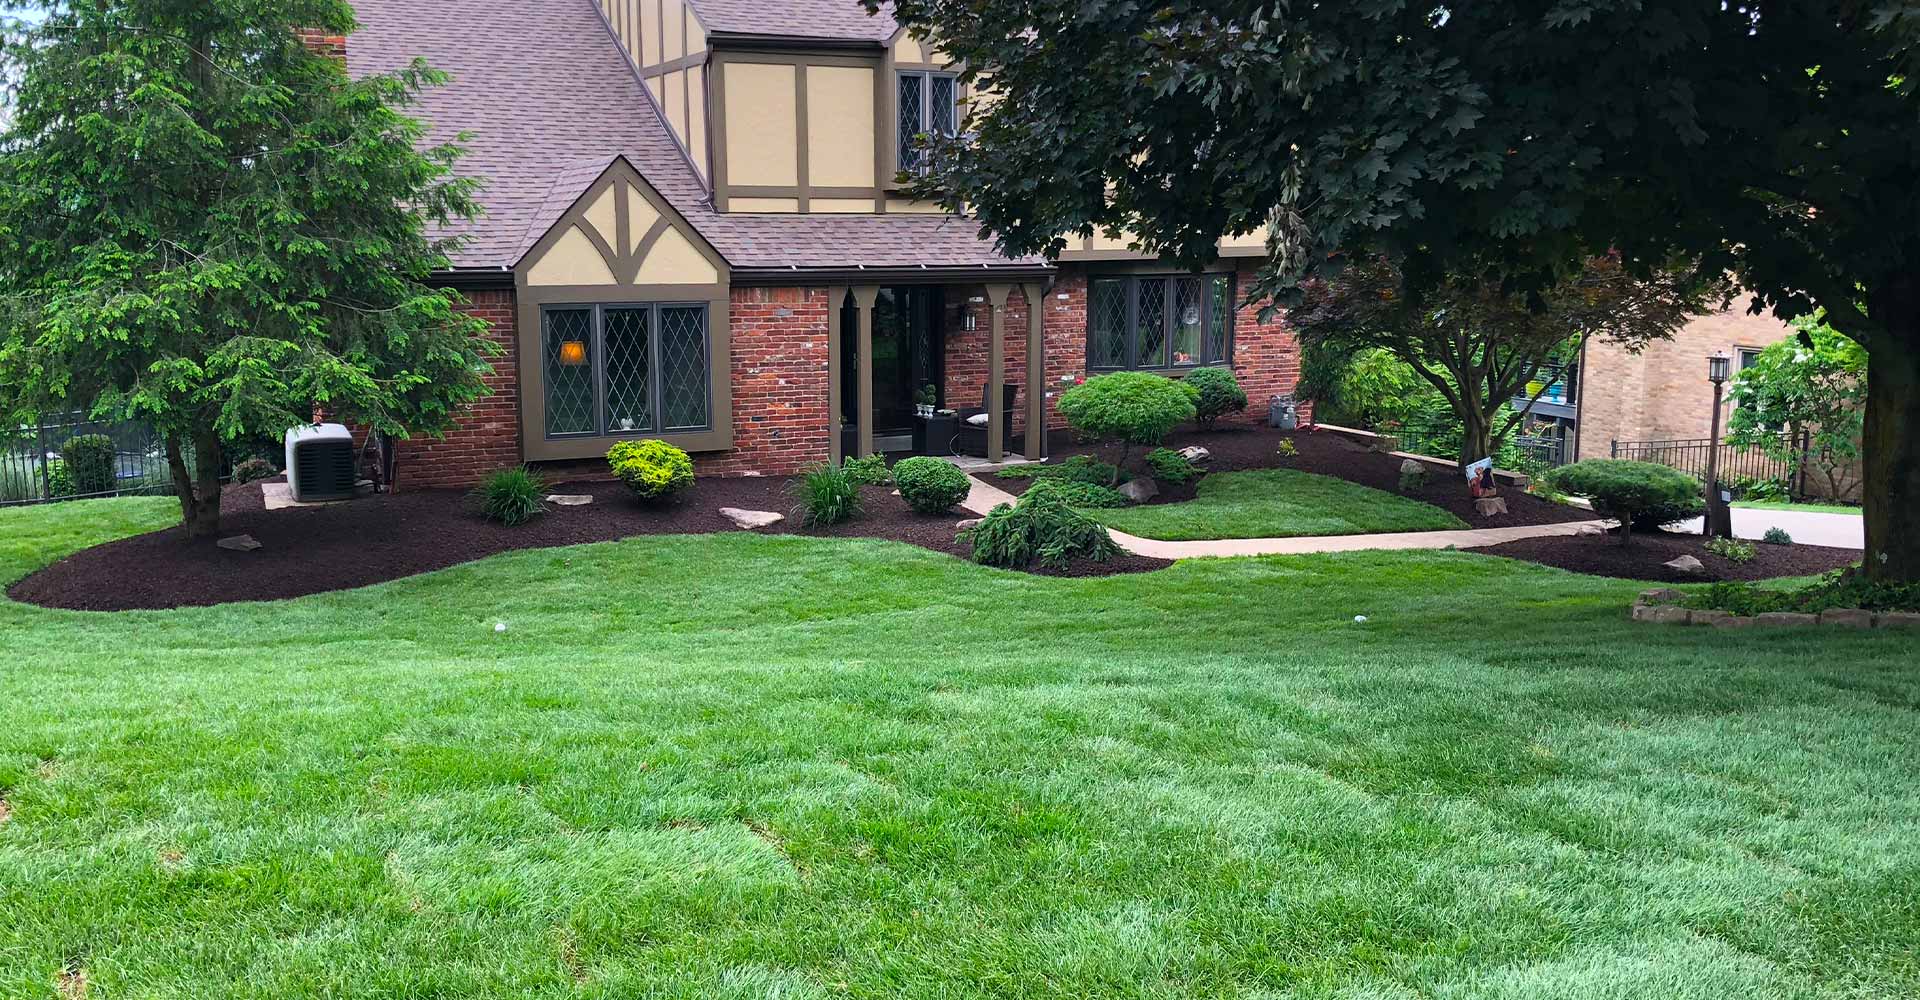
Installing sod is a great alternative to planting a new lawn with seed. But what is sod? Sod is (are?) pieces of lawn in squares or rolls that can be put down to instantly create a perfect lawn in the first day.
Sod allows you to skip weeks of watering and seed germination when comparing to starting from seed, but watering new sod regularly is still extremely important. And the best part is, installation is easy if you know how to prep for and lay sod.
Installing a new lawn with sod at a new construction home or after a serious project like a swimming pool or addition usually starts with knowing how to prep for sod. You do this by starting with a base layer, where you'll want to remove any rocks or other debris that are in the area.

Consider keeping this sub soil a few inches below any fixed points (i.e. walkways or driveways) because you still need to add screened topsoil and the sod itself has around an inch of soil.
Once the area is free of any debris and the grading has been considered you are ready to add screened topsoil. It is important to consider the desired depth of topsoil for the lawn and base that decision on how much of a good topsoil base is already laid.
Most newer construction housing plans only come with an inch or so of average soil. In these cases it is best to add at least 1-2” of topsoil on top of the base layer (up to 3-4” for long term quality). As you are raking out your screened topsoil be sure to get it really smooth and break up any chunks.
If you already have a lawn in the area you are looking to replace, you may be wondering, can you lay sod over existing grass? Typically it is best for the long term root growth to strip out the existing lawn with a sod cutter or sod remover tool.
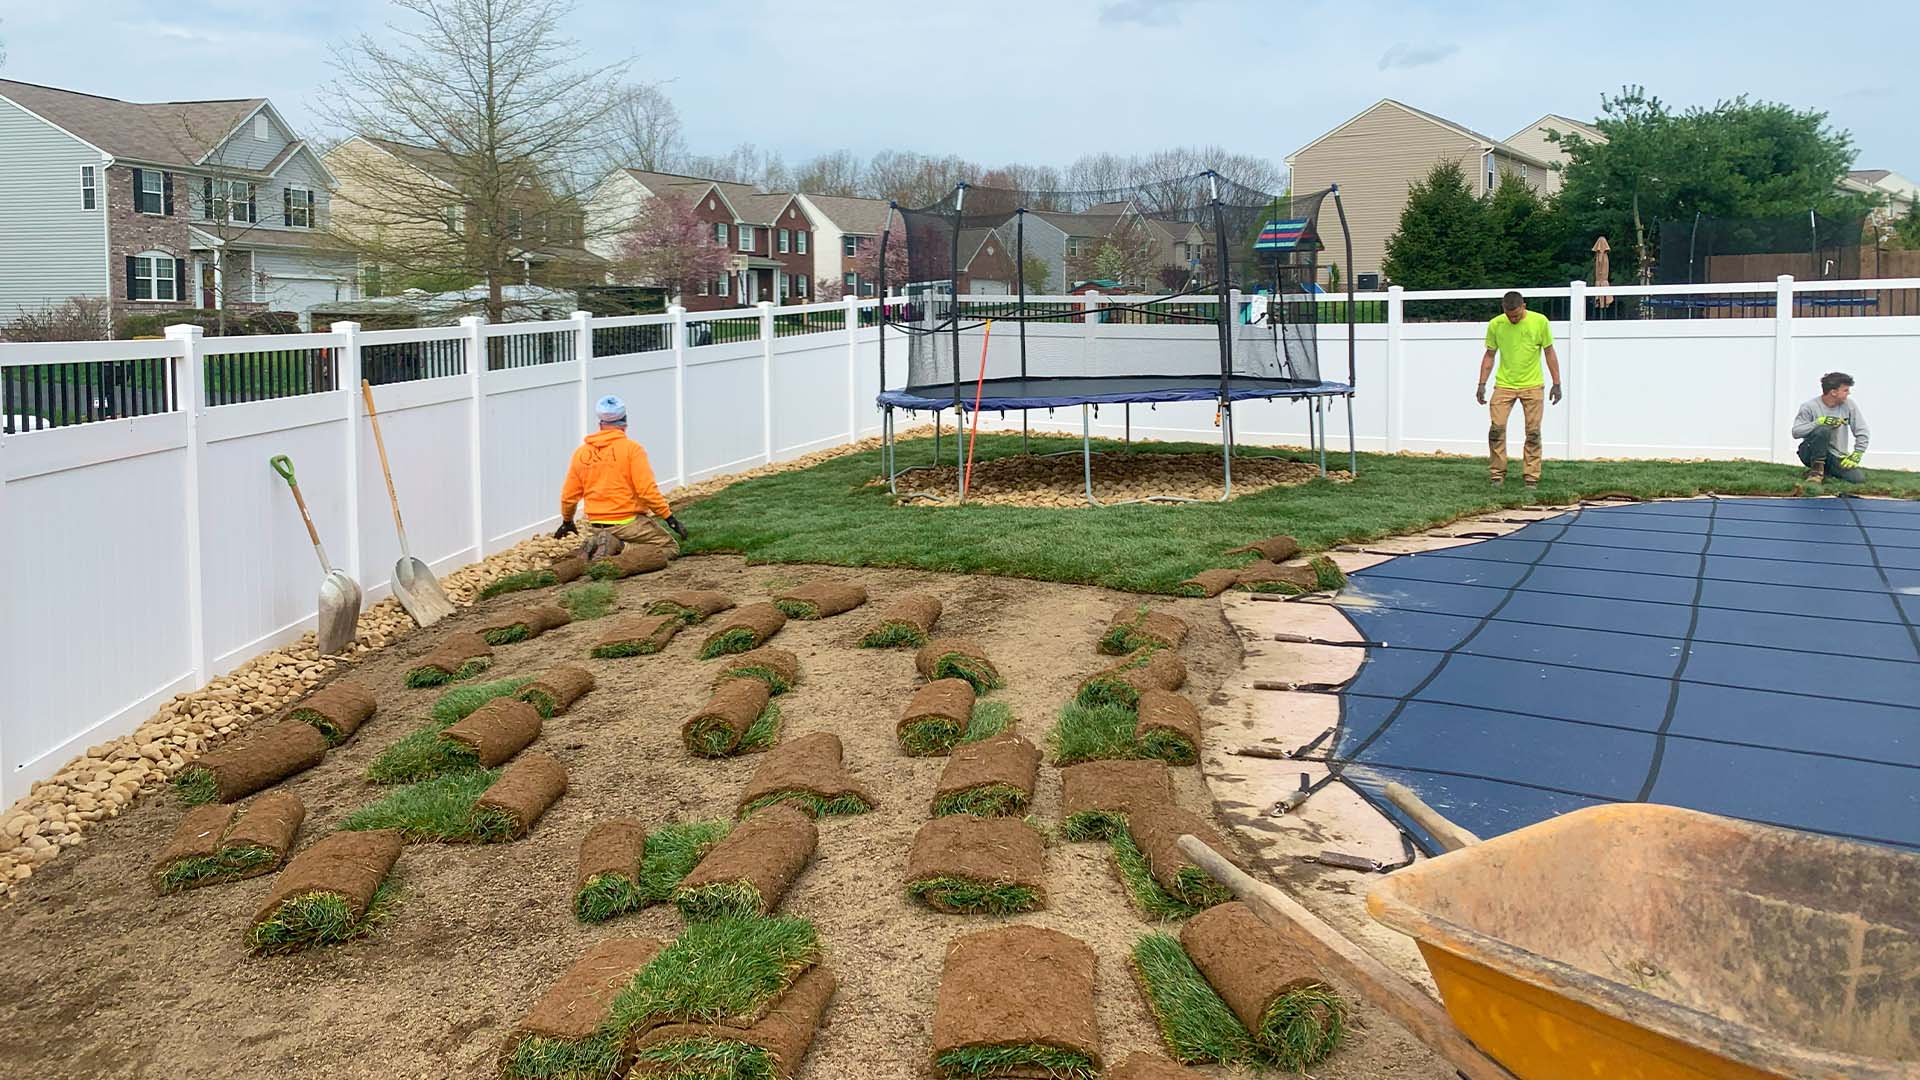
Now that you have successfully prepared the area, you are ready to start laying the pieces or rolls of sod. It is usually best to pick a long straight line like a sidewalk or street to start off of and work your way across the area trying not to walk on the new sod too much as you go.
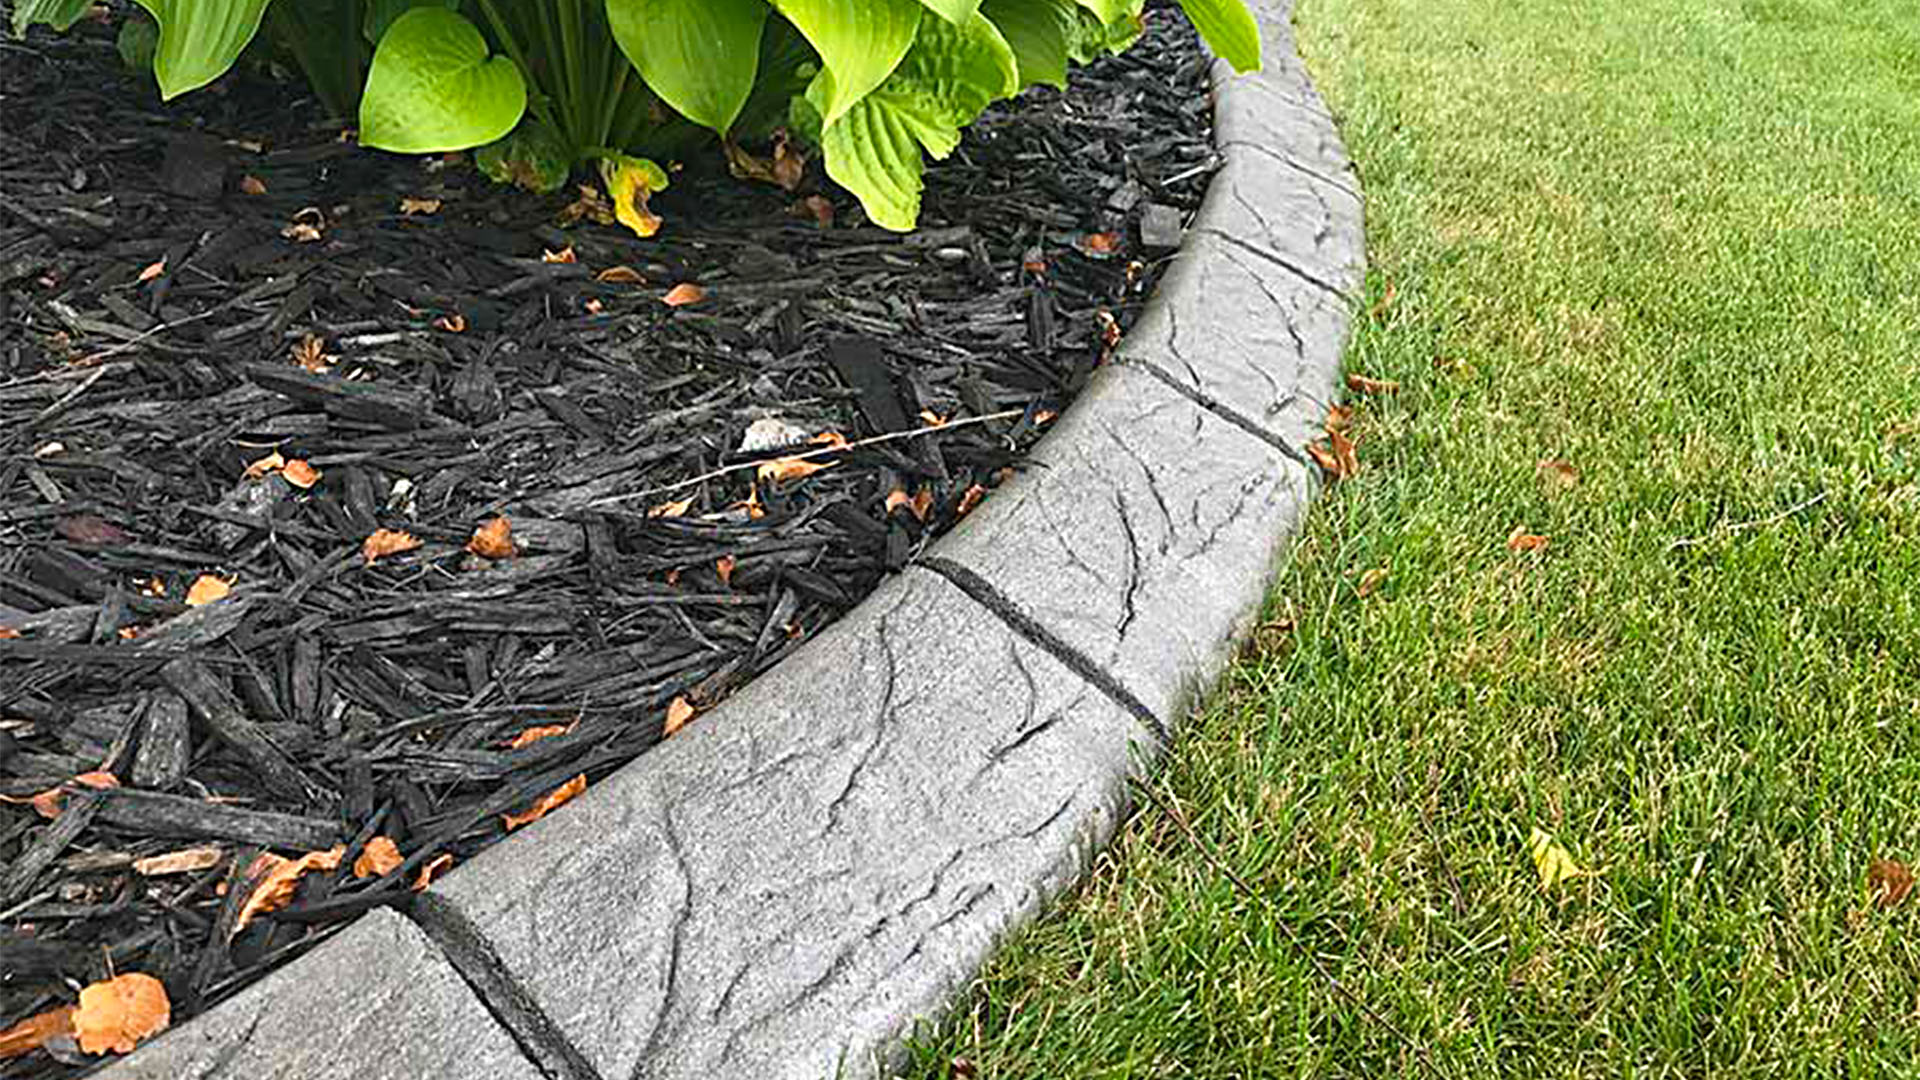
You want to make sure to stagger the seams so they do not all line up and get the corners nice and tight. As you go, cut the pieces and round the edges as needed with a sharp edging shovel or a long blade like a drywall saw (or a Sawzall). This will help shape the grass tiles to your lawn and around mulch beds, trees, etc. Sometimes it is nice to use a sod roller on the lawn to help even out any lumps that be have been left after raking.
Be sure to consider the time of year you are installing a lawn, and the current phase of your lawn care. The watering schedule for new sod in fall or spring will be a little different compared to the summer. Cooler months usually require less watering due to less evaporation. Installing sod or grass seed in the middle of summer is fine, it just requires more watering to keep the soil damp in warmer weather.
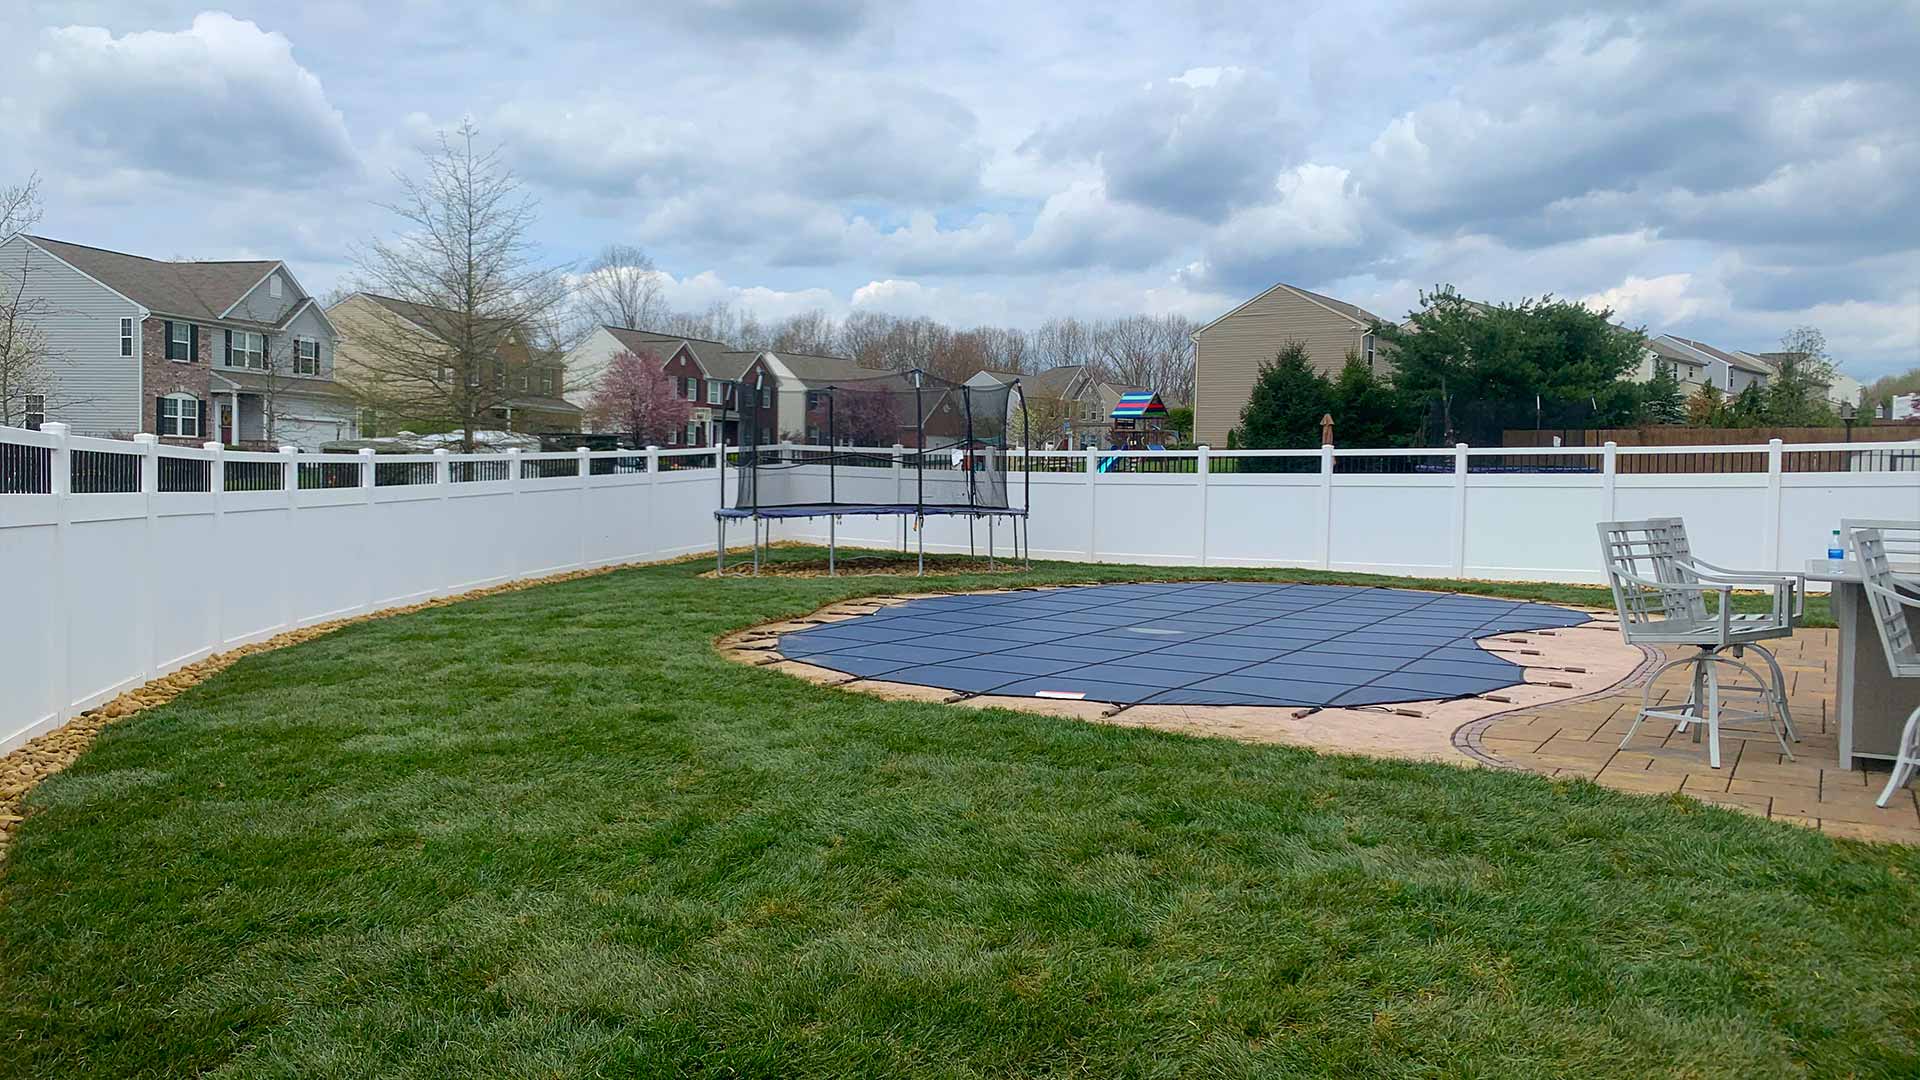
Now that the initial work is done, it is important to follow a watering schedule over the next month or so. Properly understanding how much, how often, and how long you should water your new sod helps protect your investment.
For the first 2-3 weeks it is best to keep the sod really wet to help the soil that came on the sod mix with the screened topsoil you added and allow the roots to start to grow into this top level of soil.
Watering at least twice per day during this period is recommended, usually at morning and in the evening. If the temperatures are really hot in your area you may need to water a third time to keep the sod moist throughout the day.

How long to water new sod does vary based on the size of the area and your watering method. I always recommend setting up sprinklers for sod to avoid needing to manually water with a hose multiple times per day, as recommended in our new grass seed lawn watering guide. Most sprinklers should run for around 10-20 minutes on each area of the lawn depending on the pattern selected and water pressure.
It is important to evaluate the lawn as you are watering and adjust the minutes up or down so that the area is getting thoroughly watered, but not creating puddles or evidence of over saturation.
After the first 2-3 weeks of the initial heavy watering, I would start to slowly cut back to watering a little less each day and move towards just one watering session per day that gets the soil thoroughly wet, but does allow the grass to dry out in between waters.
Once you have gotten down to one watering session by the end of the first month after planting the sod, we now want to help the roots grow deeper by watering less frequently, but for longer durations.
Move to watering 2-3 times per week, but for longer periods. This will force the roots to reach down deeper for the water. This also starts to help your grass build tolerance to spurts of low rainfall in the future. Continuing this occasional deep watering for as long as you are willing will help your new lawn continue to thrive.
As Sod professionals, we understand what it takes to install a lawn and have it come in great. If you're in the Pittsburgh area, check out our Sod & Seeding page for some more pictures of lawn installation jobs or to get a lawn installed. We make it look easy!

